
🌿 Tired of spending a fortune on skincare products filled with ingredients you can’t pronounce? Your kitchen might hold the secret to achieving that natural, healthy glow you’ve been dreaming of. From ancient beauty rituals to modern DIY solutions, homemade skincare has been transforming complexions for centuries – and for good reason.
Whether you’re dealing with stubborn acne, dry patches, or simply want to embrace a more natural beauty routine, creating your own skincare products puts you in control of what goes on your skin. Not only is it cost-effective, but it’s also empowering to know exactly what you’re applying to your largest organ. In this guide, we’ll explore simple yet effective recipes that harness the power of natural ingredients, from soothing honey masks to rejuvenating coconut oil treatments.
Let’s dive into the world of natural skincare, starting with the essential ingredients you’ll need in your DIY beauty arsenal, followed by targeted recipes for every skin concern. Get ready to transform your skincare routine with these safe, effective, and affordable homemade solutions. 🌺
Essential Ingredients for Natural Skincare
Kitchen Staples That Benefit Skin
- Honey: Natural antibacterial and humectant properties
- Yogurt: Contains lactic acid for gentle exfoliation
- Oatmeal: Soothes inflammation and absorbs excess oil
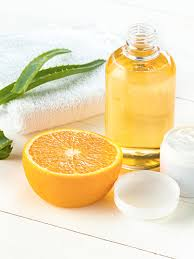
- Lemon: Natural source of vitamin C and brightening agent
- Avocado: Rich in healthy fats and vitamins A, D, and E
Best Carrier Oils for DIY Products
| Oil Type | Benefits | Best For |
|---|---|---|
| Jojoba | Mimics skin’s natural oils | All skin types |
| Coconut | Antimicrobial, moisturizing | Dry skin |
| Sweet Almond | Light, easily absorbed | Sensitive skin |
| Rosehip | Rich in vitamin A and C | Aging skin |
| Argan | High in vitamin E | Combination skin |
Natural Preservatives and Shelf Life
Natural preservatives to extend product longevity:
- Vitamin E oil: Antioxidant properties
- Grapefruit seed extract: Natural antimicrobial
- Rosemary extract: Prevents oil rancidity
- Tea tree oil: Natural antibacterial agent
Storage tips for maximum shelf life:
- Use sterilized containers
- Store in cool, dark places
- Always use clean, dry hands
- Label with preparation date
- Use within recommended timeframe (usually 1-2 weeks for water-based recipes)
Now that you understand the fundamental ingredients for natural skincare, let’s explore specific face mask recipes tailored to different skin types.
Face Mask Recipes for Different Skin Types
Hydrating Masks for Dry Skin
- 1 ripe avocado
- 2 tablespoons honey
- 1 tablespoon olive oil
Mix ingredients until smooth and apply for 15-20 minutes.
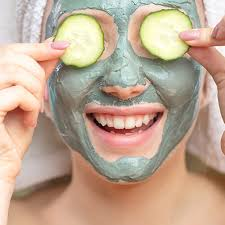
Clay-Based Masks for Oily Skin
- 2 tablespoons bentonite clay
- 1 teaspoon apple cider vinegar
- 3-4 drops tea tree oil
Combine ingredients to form a paste and leave on for 10 minutes.
Soothing Recipes for Sensitive Skin
- 3 tablespoons oatmeal (ground)
- 2 tablespoons plain yogurt
- 1 teaspoon honey
Blend until smooth and apply for 15 minutes.
Anti-Aging Combinations
- 1 egg white
- 1 tablespoon matcha powder
- 1/2 teaspoon vitamin E oil
Whisk together and apply for 20 minutes.
| Skin Type | Key Ingredients | Application Time | Frequency |
|---|---|---|---|
| Dry | Avocado, Honey | 15-20 minutes | 2x/week |
| Oily | Clay, ACV | 10 minutes | 1-2x/week |
| Sensitive | Oatmeal, Yogurt | 15 minutes | 1x/week |
| Aging | Egg White, Matcha | 20 minutes | 2x/week |
Each mask should be applied to clean, damp skin and removed with lukewarm water. Always perform a patch test before applying any new mask recipe. For best results, follow with your regular moisturizer while skin is still slightly damp.
Now that you have a selection of face masks for your specific skin type, let’s explore some daily cleansing solutions that will complement your mask routine.

Daily Cleansing Solutions
Oil-Based Facial Cleansers
The oil cleansing method works on the principle that “like dissolves like.” Natural oils effectively remove makeup, excess sebum, and impurities while maintaining skin’s moisture balance. Here’s a simple yet effective recipe:
- Basic Oil Cleanser Recipe:
- 3 parts carrier oil (choose based on skin type)
- 1 part castor oil
- 2-3 drops essential oil (optional)
| Skin Type | Recommended Carrier Oil |
|---|---|
| Oily | Jojoba or Grapeseed |
| Normal | Sweet Almond or Argan |
| Dry | Avocado or Olive |
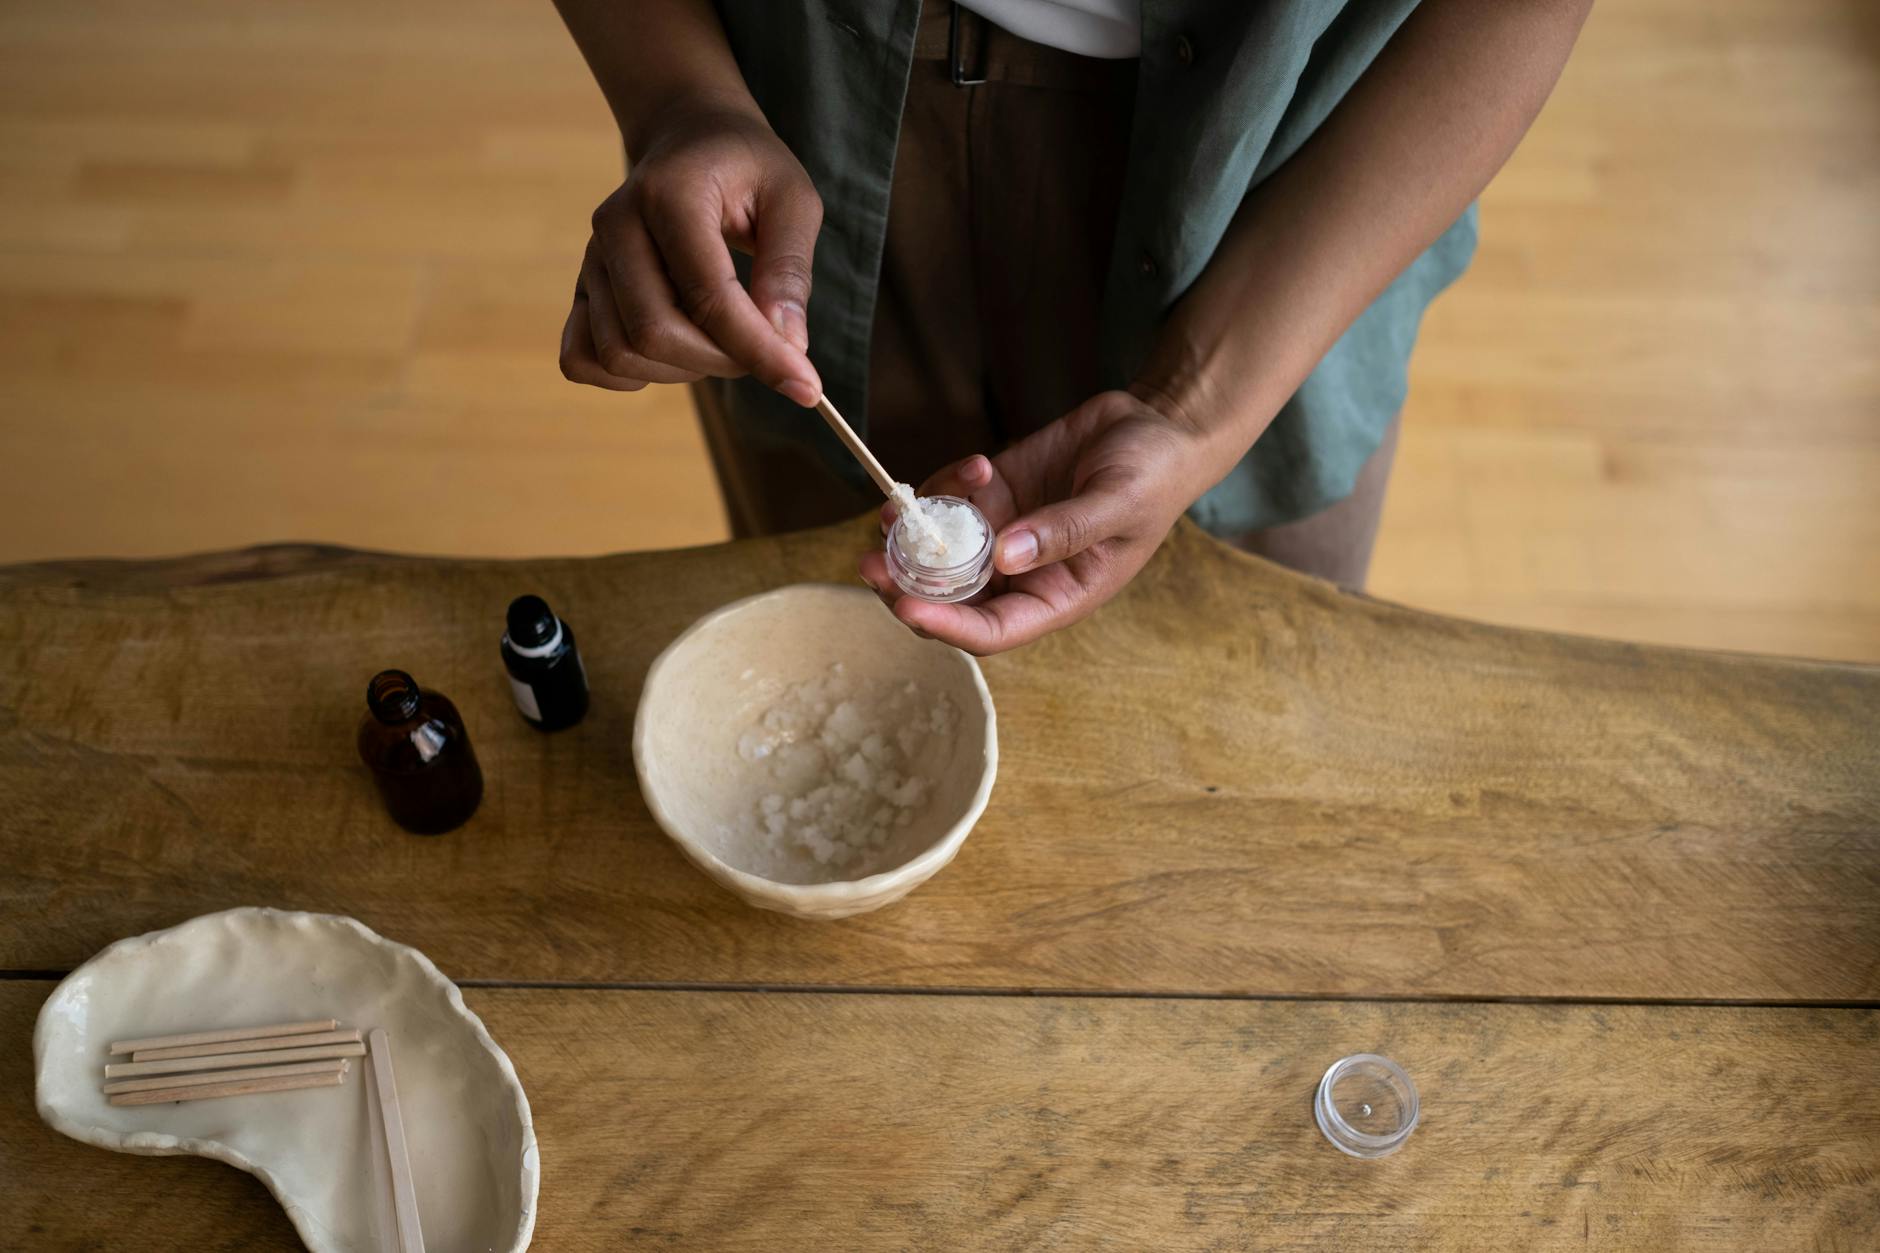
Gentle Exfoliating Scrubs
Creating your own exfoliating scrub ensures gentle yet effective removal of dead skin cells without harsh chemicals:
- Basic Scrub Formula:
- 2 tablespoons fine grain base (rice flour/oatmeal)
- 1 tablespoon liquid (honey/yogurt)
- 1 teaspoon oil (coconut/almond)
Herbal Cleansing Waters
Herbal waters provide a refreshing finish to your cleansing routine while delivering natural botanical benefits:
- Simple Herbal Water Recipe:
- 1 cup distilled water
- 2 tablespoons dried herbs (chamomile/rose/lavender)
- 1 tablespoon witch hazel
Now that you have your daily cleansing solutions ready, let’s explore how to keep your skin hydrated with proper moisturizing treatments.

Moisturizing Treatments
Day Cream Recipes
Create this lightweight yet hydrating day cream by combining:
- 1/2 cup aloe vera gel
- 2 tablespoons jojoba oil
- 5 drops vitamin E oil
- 3 drops lavender essential oil
Night-Time Nourishing Blends
For deep overnight restoration, mix:
- 3 tablespoons coconut oil
- 1 tablespoon rosehip oil
- 2 drops frankincense essential oil
Body Butter Formulations
| Base Ingredient | Supporting Oil | Essential Oil |
|---|---|---|
| Shea Butter | Coconut Oil | Vanilla |
| Cocoa Butter | Almond Oil | Lavender |
| Mango Butter | Argan Oil | Orange |
Hand and Foot Care Solutions
Create this intensive treatment:
- 1/4 cup shea butter
- 2 tablespoons coconut oil
- 1 tablespoon honey
- 5 drops peppermint essential oil
Lip Balm Recipes
Simple protective blend:
- 2 tablespoons beeswax
- 1 tablespoon coconut oil
- 1 teaspoon honey
- 1/2 teaspoon vitamin E oil
Each formulation should be stored in dark glass containers and used within 3 months. For day creams, incorporate SPF by adding zinc oxide powder. Night blends can be made richer by increasing oil concentrations. Body butters should be whipped for a light, airy texture. Now that we’ve covered moisturizing treatments, let’s explore specific recipes for various skin concerns and treatments.
Treatment-Specific Recipes
Acne-Fighting Formulas
- Tea Tree and Honey Spot Treatment
- 3 drops tea tree oil
- 1 tablespoon raw honey
- 1/2 teaspoon cinnamon powder
- Green Clay Purifying Mask
- 2 tablespoons green clay
- 1 teaspoon apple cider vinegar
- 3 drops neem oil
Dark Spot Remedies
- Lemon-Turmeric Brightening Paste
- 1 teaspoon turmeric powder
- 1/2 lemon juice
- 1 teaspoon honey
- 2 drops vitamin E oil
Under-Eye Care Solutions
- Cucumber-Aloe Cooling Gel
- 2 tablespoons aloe vera gel
- 1 tablespoon cucumber juice
- 1/4 teaspoon vitamin E oil
| Treatment Type | Application Time | Frequency |
|---|---|---|
| Acne Spot Treatment | 10-15 minutes | Daily |
| Dark Spot Remedy | 15-20 minutes | 2-3x weekly |
| Under-Eye Care | Leave overnight | Nightly |
Apply these treatments after cleansing and toning. The tea tree and honey spot treatment reduces inflammation while fighting bacteria. For dark spots, the lemon-turmeric paste works through gentle exfoliation and natural brightening properties. The cucumber-aloe gel reduces puffiness and dark circles while providing essential hydration to the delicate under-eye area.
Store these mixtures in airtight containers, keeping them refrigerated for up to one week. For best results, perform a patch test before applying any new treatment to your skin.
Now that you have these targeted solutions, let’s explore how to establish a consistent skincare routine that incorporates these treatments effectively.

Creating natural skincare products at home puts you in control of what goes onto your skin while offering a cost-effective alternative to commercial products. With simple ingredients like honey, oats, essential oils, and natural clays, you can craft personalized solutions for your specific skin concerns, from cleansing and moisturizing to targeted treatments.
Take the first step towards healthier skin by experimenting with these DIY recipes. Start with basic formulations and gradually explore more complex combinations as you become familiar with how your skin responds. Remember to always patch test new ingredients and maintain consistency in your skincare routine to achieve the best results.